
Tuesday, April 2, 2013
Follow My Blog Via Bloglovin'
Follow my blog with Bloglovin
I'm new to Bloglovin'.. Not sure what took me so long to get there lol but it's pretty cool! I'm claiming my Blog right now with this post! :)

Review For SquareHue.com Monthly Subscription Box
This awesome filled box was sent to me for Review from Squarehue.com
**This is my Honest Opinion**
[[I Have to Warn You this Post is Picture Heavy..Let it all load for best results]]

Click on the link below to be directed to their site!!
The lovely folks at Squarehue.com sent me this box in March for their 03.13 O'hue collection to be reviewed!! Yay! [The second company to send me polish for Review.]
I really love the idea of getting polish in the mail, and NOT knowing what the colors are going to be. Their service is $21.00 a month including shipping costs.
Also a portion of their proceeds is donated. Below is what SquareHue says about where their proceeds are going to help in rehabilitation efforts.
[Even united as friends, we realize we cannot help everybody, but we can help somebody. For us, that “somebody” are women that are being trafficked and sold into a life of slavery. Collectively we have organized, designed and constructed installations to raise awareness of this injustice. We also have curated and hosted art gallery fund raisers where all proceeds of artwork sold were donated to help in rescue and rehabilitation efforts.
As a SquareHue subscriber, you too take part in the continuing efforts against human trafficking.A portion of monthly subscription proceeds are donated for prevention awareness, the protection of victims and the prosecution of traffickers. It’s simple, you get marvelous nail polish delivered to your door and we donate to organizations involved with combatting human trafficking. We believe that together we can make a difference. You get, Hue gives.]
The Polishes are HIGH Quality and Cruelty-free, and "3 free" You can even suspend or Pause your service for a month when money is tight or you're on a "no buy" ;)
Since I was given this box for free this past month and I bought the January collection from another blogger in January I am ready and signed up for my April box. I can't wait for it to get here. I have even Canceled my subscription to Julep for these months!
Ok on with the review..
My first impression of the box was it was soooo tiny lol but cute

This Picture Above is to show the size of the box vs the size of my dotting tools. tiny!
Were 3 polishes really in there?

This is the Awesome inside Packaging

I Loved their Collection Card!
Yes there were 3 beautiful hues in 3 square bottles., I LOVE SQUARE Bottles!!

I LOVED the inside of the packaging. I loved the Colors, I loved the Collection Card.. I LOVE how their Logo on the front of the bottle is see-through through the HUE part!!


The Back of the bottles has their SquareHue.com Website Address

The Bottom of the bottle tell you the names & what month and year they were made! A great idea!


Now I wondered if their polish formula could make me equally happy.
I started with the =Blonde Ale Polish=, it reminded me of my favorite colored horse, the blonde ones with the blonde manes, you know what I'm talking about I'm sure!! This is definetely not a color I would choose myself just based on bottle view. BUT let me tell you, I own NOTHING like this and for that I am so thankful for this subscription service choosing three polishes for me each month!
This formula dried super fast, no streaks, and I used 3 coats on each fingernail with a basecoat, It didn't even need a top coat it was so shiny!! This is such a lovely champagne based gold shimmer. It achieves bottle color in just 2 easy coats!


And Last but CERTAINLY NOT Least is =Patty's Pint= it's the color Emerald I've always dreamt of having! This lush Emerald is a definite must have this year being Pantones Color of the Year 2013
There is absolutely no streaking in any of these polishes and with just 2 coats and 10 minutes you're ready to start your day or end your night since most of us paint our nails at night, it's great that this formula is so quick drying!


I am definetely impressed with this new company and I really hope you get on board and sign up as well. You're missing out if you haven't already. For just $21.. that's just $7 a bottle. 3 bottles that are in style for the month and fabulous. They got me. I've signed up and cannot wait for my April Box to arrive in just a week or so :) Thanks for reading :)

Wednesday, March 27, 2013
OMG!!! I found a Polish I never knew I had!!!
OMG OMG OMG I'm having a heart attack Right now!!!!!!!!!!!!!!!!!!! LOL OMG I found a bottle of a REALLY HARD TO FIND OPI POLISH!!!!!!! In my stash of Polishes!!!!!! I was going through my desk clutter, and I pulled out this really old looking dark OPI bottle.. Like Seriously I've never seen this bottle before, it's REALLY OLD and the OPI letters and all are falling off and faded and its just really weird, anyways.. I'm looking at it and it seems purple, almost a duochrome like with amber and red shining with it, it reminded me of the old Hard Candy "Beetle".. so I flip it over to see if it even still has the name attatched and OMFGGGGGG IT DOES!!!!! [I know by now you're just like get on with it,, what color is it lol] Well it's a Lemming of mine from like FOREVER!!!!!!! Black Tie Optional!!! Just looked on Ebay and it's going for over $30 a bottle!!!!!!!!!!!!!!! It's from OPI's 2001 World Collection!!!!! Seriously? This bottle of polish is almost 13 years old??? And I have no idea where or when I got it?!?!!?!?!?!!?!?!? Wow. Deffz a weird moment! But an amazing one! Yay!
I'll post a pic in a few minutes!!!
I'll post a pic in a few minutes!!!
Tuesday, March 26, 2013
My First Ever DIY Foam board Nail Polish Rack
I finally got around to making my first ever DIY Foam Board Nail Polish Rack and it was really fun!! I have more boards to make one more!!! I'm really excited to be posting this. As most of ya'll know I have my Polish Studio Walls full of Polish on my Wood Polish Racks. But I've seen tons of Youtube videos of girls making their $1.99-$5.00 DIY Projects.. and wanted to make one for myself too! [My lil 16 yr old sister almost needs one too lol She's gotten addicted to polish as well] Not as bad as me but she has quite a collection! Anyways... This DIY Project would have cost me just $7 for the 3 $1 Boards and the Duct tape, but I wanted a high temp glue gun, my small gluegun wouldn't have been much fun to work with, it seems with that one, the glue is dry before it even touches something. But I definetly recommend this High Temp one!! It's GREAT to work with!
I bought a new High Temp Glue Gun at Walmart for $20!


I found my 3 White Foam Boards at the Dollar Tree for just $1 each!!

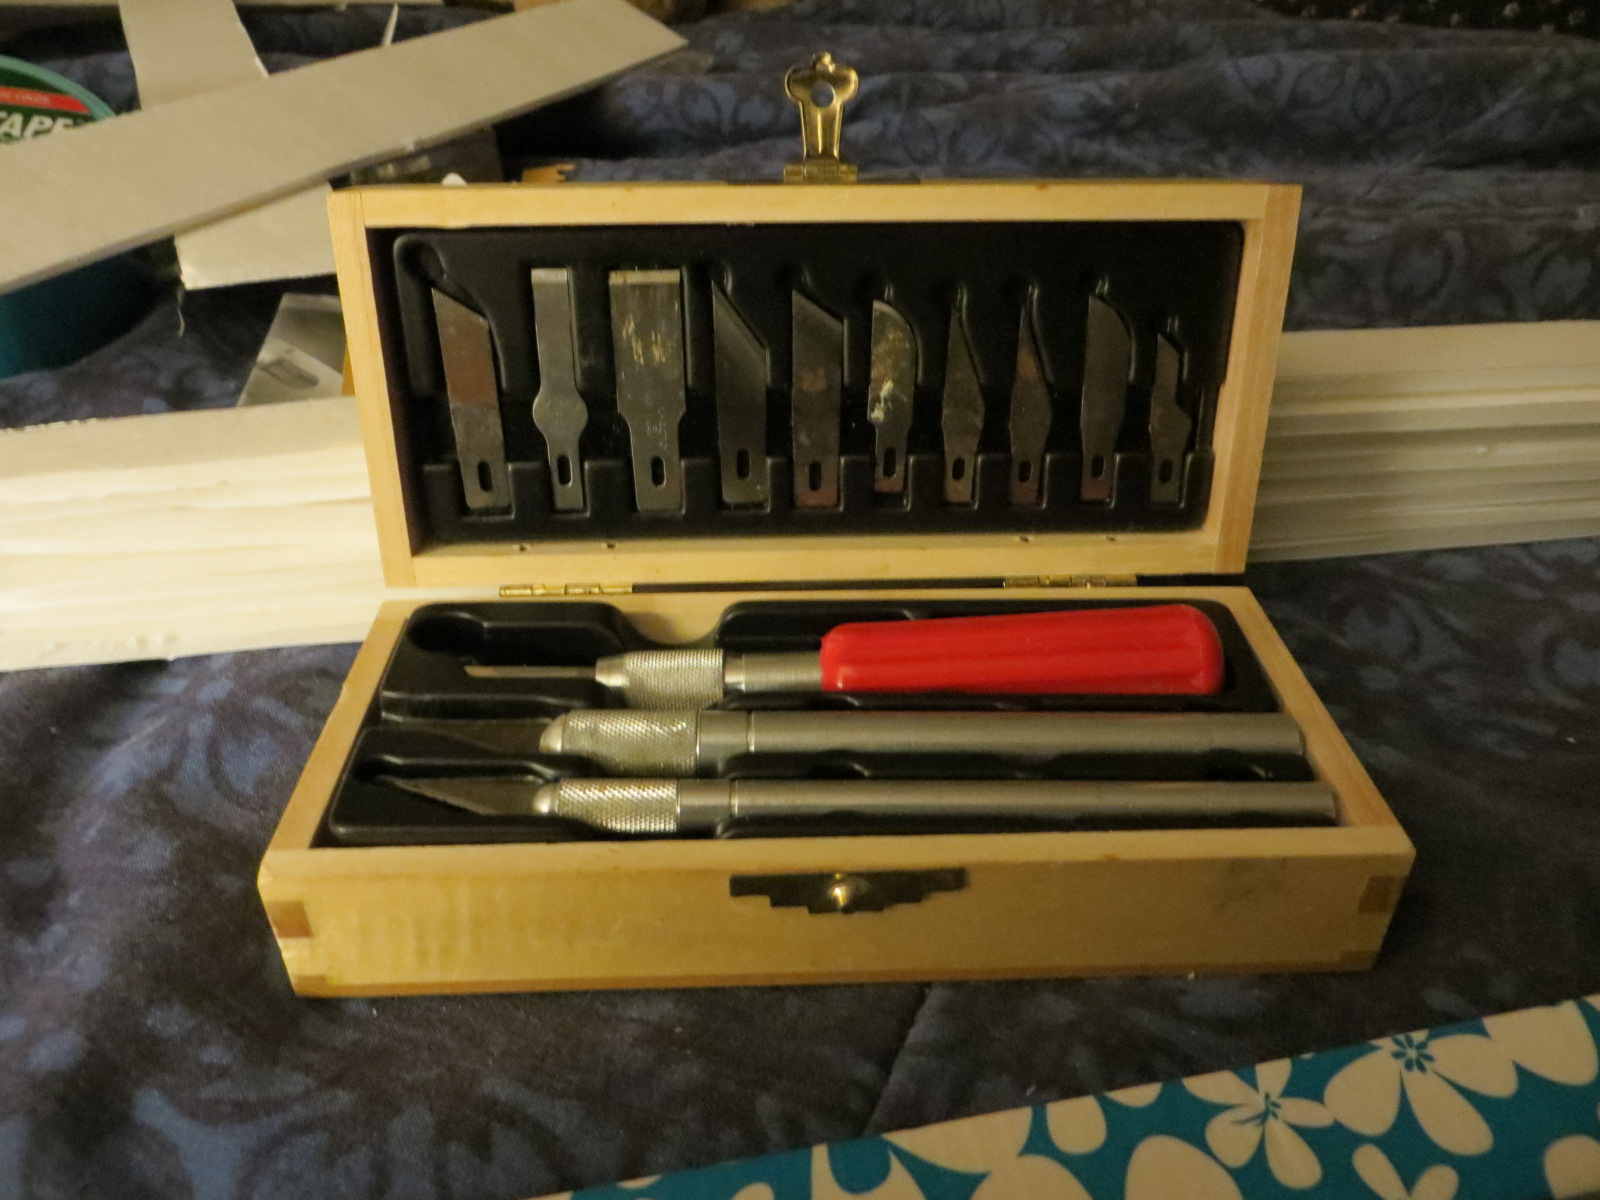
I needed X-acto knives, a ruler, and a measuring tape!!

I cut 2- 2 inch long wise cutouts from the one board.
I drew lines 4 inches apart on the "back" white board.
I then drew 9- 2 inch lines on the last foam board.
I had enough room to draw 9-1 inch lines on the last foam board I drew the 9-2 inch lines..
You keeping up? lol It seems easy enough, but you NEED to make sure you have EVERYTHING even and not off by even a centimeter. It takes time and real good eye control.
After I had everything drawn, I was ready to cut.. I cut them all out using my sharp X-acto knivez
That was the hardest part. Trying to cut ON the lines evenly... But I did it, so here I have all my pieces cut out .

 and here is my "Back" board all lined up
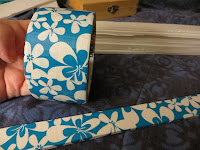
 I had to duct tape my front 1 inch panels first, then the 2- 2inch side panels.. I almost didn't have enough duct tape. I ran out and I wasn't satisfied so I still used the LAST piece of duct tape that wasn't sticky lol I just cut it into 3 thin pieces and hot glued it to the top :)
After that I glued on the 2 2inch sides to the Back board, then I glued on the top shelf and went down from there.. I used extra hot glue on every side of every cutout. Above and Under each shelf and front and back on each side. I used about 8 Long Gluesticks, and burnt my fingers at least 5 times with the hot glue!! lol But it was well worth it!
And this is the Final Piece of work.


I LOVE how it turned out, and it turned out Perfectly. Not lopsided, not uneven at all. I can't wait to make my next one!!! I LOVE the duct tape I picked out for this one. I have a few more duct tapes I can't decide which to use next!!! lol
I'll update later when I put it up or put it somewhere and add all the polishes, and I'll let you know how many polishes it holds.. I'll prolly get to that tomorrow :)
Thanks for reading!! Please Leave a comment if you have made one or want one or whatever. I love reading comments! :)
I bought a new High Temp Glue Gun at Walmart for $20!


Got my Gluesticks and Duct Tape at Walmart as well $10


I found my 3 White Foam Boards at the Dollar Tree for just $1 each!!

I needed X-acto knives, a ruler, and a measuring tape!!
I cut 2- 2 inch long wise cutouts from the one board.
I drew lines 4 inches apart on the "back" white board.
I then drew 9- 2 inch lines on the last foam board.
I had enough room to draw 9-1 inch lines on the last foam board I drew the 9-2 inch lines..
You keeping up? lol It seems easy enough, but you NEED to make sure you have EVERYTHING even and not off by even a centimeter. It takes time and real good eye control.
After I had everything drawn, I was ready to cut.. I cut them all out using my sharp X-acto knivez
That was the hardest part. Trying to cut ON the lines evenly... But I did it, so here I have all my pieces cut out .


After that I glued on the 2 2inch sides to the Back board, then I glued on the top shelf and went down from there.. I used extra hot glue on every side of every cutout. Above and Under each shelf and front and back on each side. I used about 8 Long Gluesticks, and burnt my fingers at least 5 times with the hot glue!! lol But it was well worth it!
And this is the Final Piece of work.


I LOVE how it turned out, and it turned out Perfectly. Not lopsided, not uneven at all. I can't wait to make my next one!!! I LOVE the duct tape I picked out for this one. I have a few more duct tapes I can't decide which to use next!!! lol
I'll update later when I put it up or put it somewhere and add all the polishes, and I'll let you know how many polishes it holds.. I'll prolly get to that tomorrow :)
Thanks for reading!! Please Leave a comment if you have made one or want one or whatever. I love reading comments! :)
Subscribe to:
Posts (Atom)